Advanced Range Presets
Last updated
Last updated
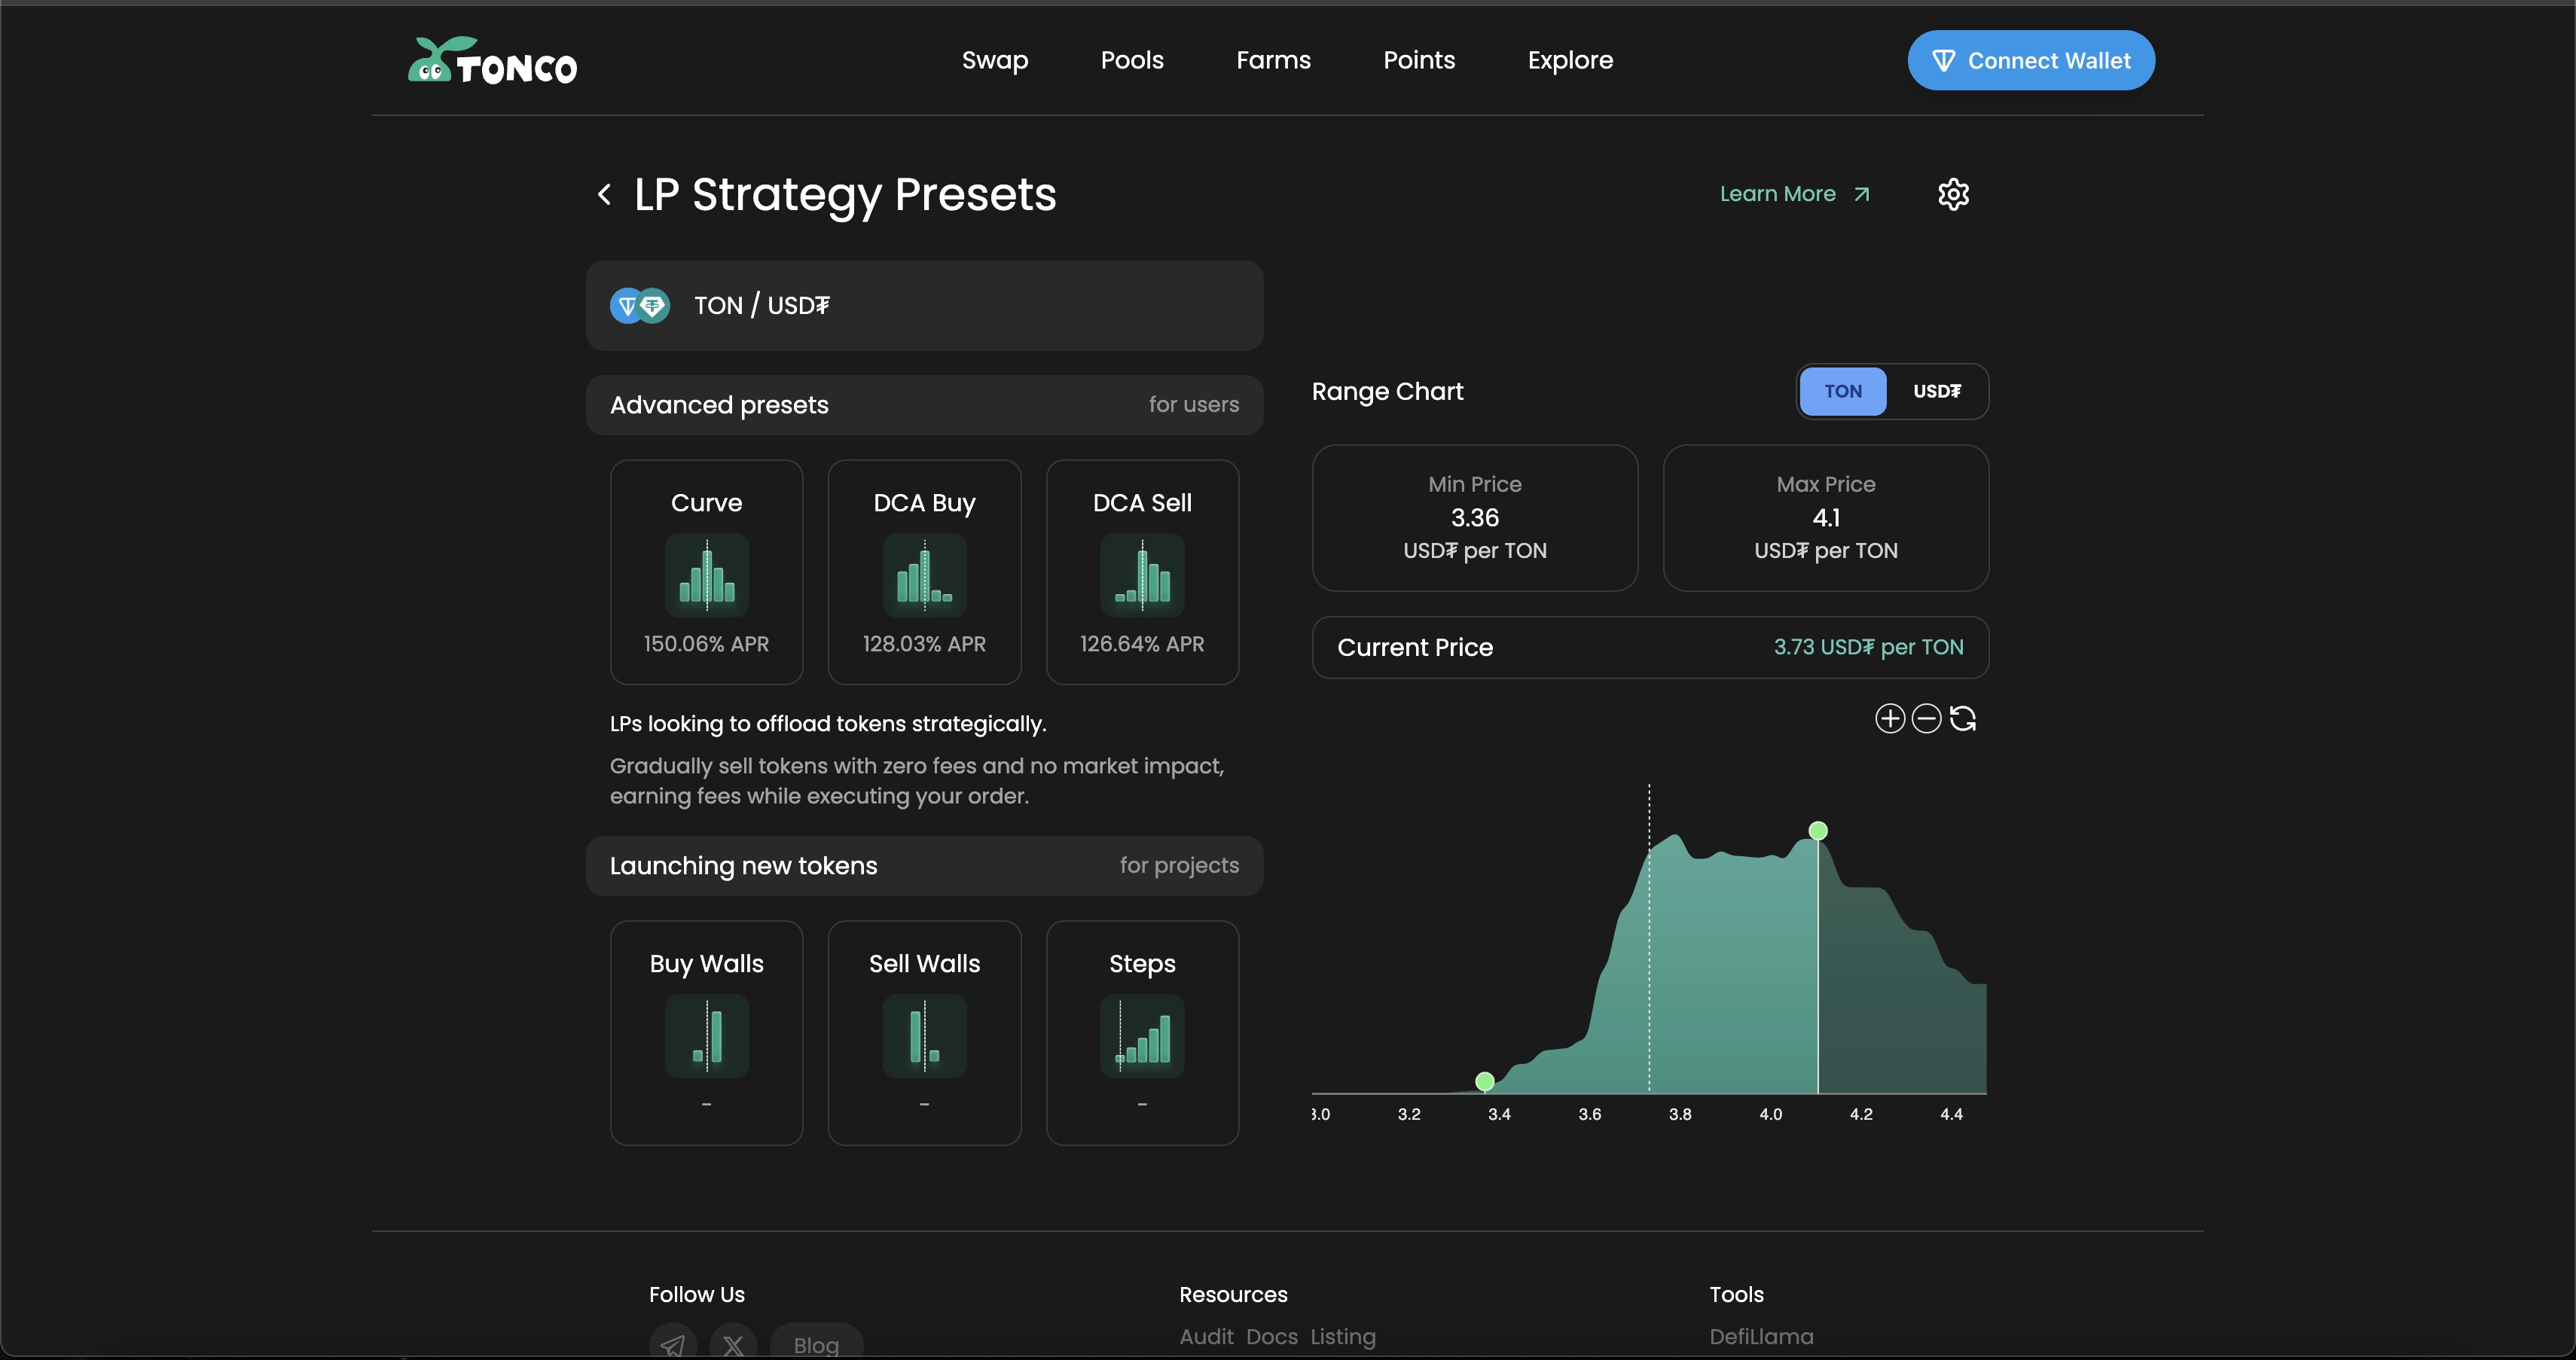
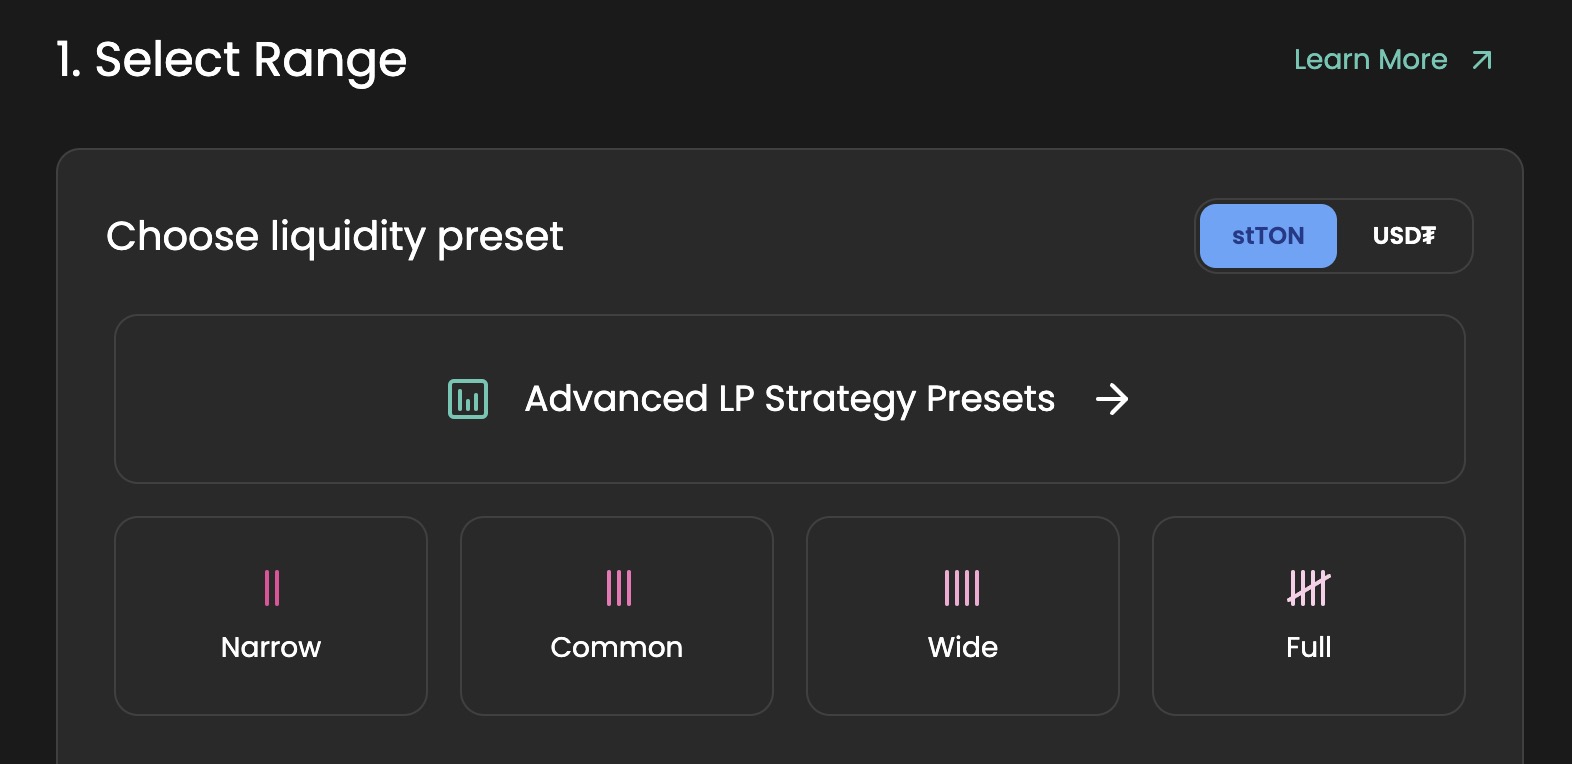
Concentrated liquidity allows LPs to go beyond the standard 50/50 token distribution and apply advanced strategies to maximize returns. In the “Advanced LP Strategy Presets” tab, you’ll find ready-made strategies designed to optimize liquidity deployment.
This guide assumes you have experience managing concentrated liquidity positions. If you’re new to this, we recommend first exploring:
• Perks for Projects Launching on TONCO
Advanced strategies often require active position management. If you’re using these presets, make sure you understand the risks—you are fully responsible for your funds
Each preset serves different goals, whether you’re a user looking to maximize earnings or a project launching a token on TONCO. There’s no single “best” strategy—performance depends on market conditions and how actively you manage your position.
Presets are divided into two categories:
• For LPs – Optimized strategies for liquidity providers
• For Projects – Liquidity structuring for token launches
Currently, advanced presets are available for USDT and TON-paired pools only.
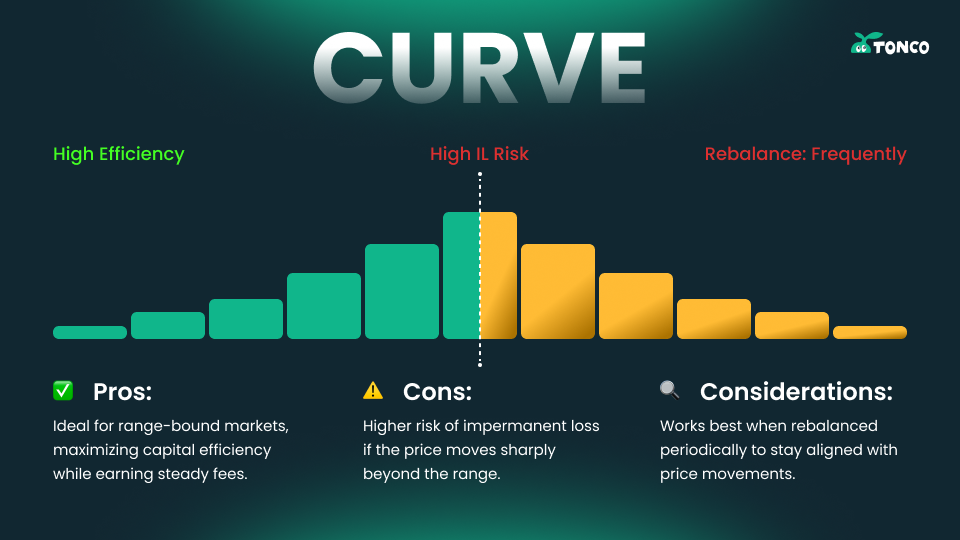
Best for low volatility period, stable pairs or key price levels in volatile pairs.
— Provides steady fee earnings from short-term price movements.
— Liquidity is spread over wide & narrow ranges, ensuring participation in trades across price fluctuations.
💡 Setup:
• Position 1 (Wide Range): [-15%, +15%] – 60% of liquidity
• Position 2 (Narrow Range): [-5%, +5%] – 40% of liquidity
📌 Total Range: [-15%, +15%]
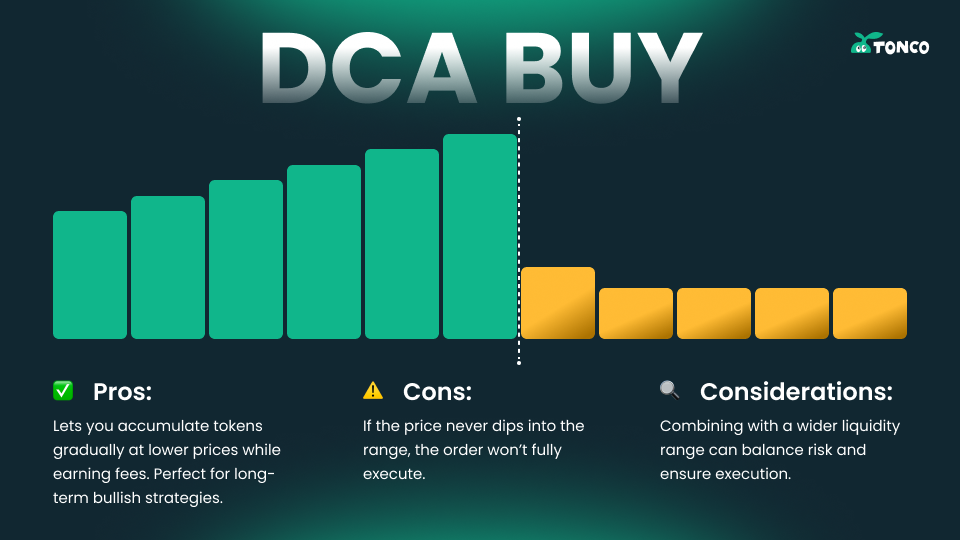
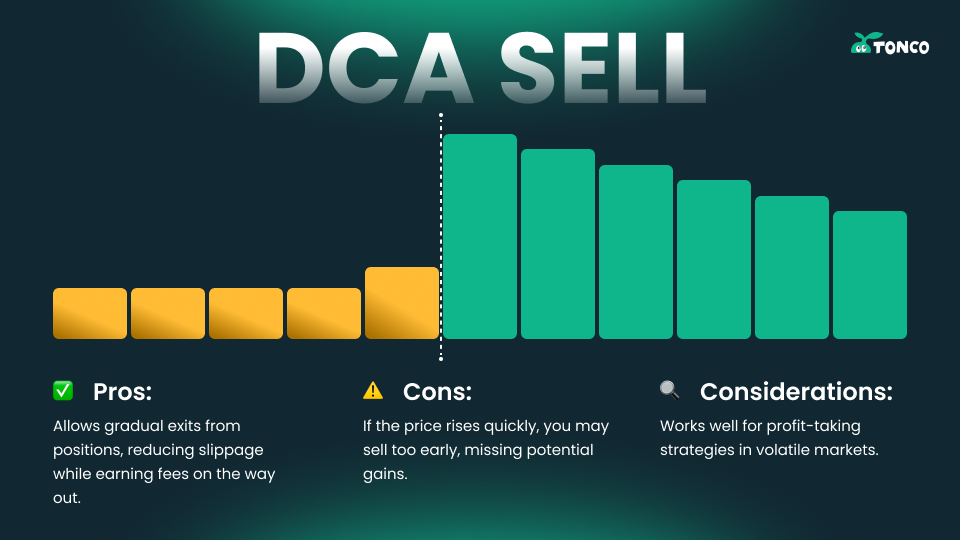
Perfect for buying or selling assets over time while earning fees.
— Works like a limit order, but also generates trading fees.
— Helps reduce slippage for large buys or exits.
💡 DCA Buy Setup:
• Position 1: [-10%, +2%] – 80% of liquidity
• Position 2: [-2%, +10%] – 20% of liquidity
📌 Total Range: [-10%, +10%]
💡 DCA Sell Setup:
• Position 1: [-10%, +2%] – 20% of liquidity
• Position 2: [-2%, +10%] – 80% of liquidity
📌 Total Range: [-10%, +10%]
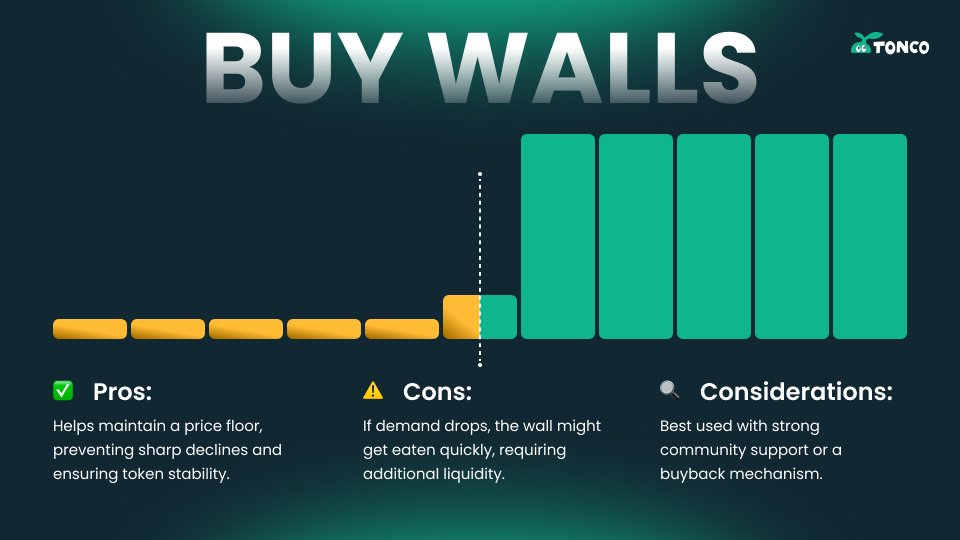
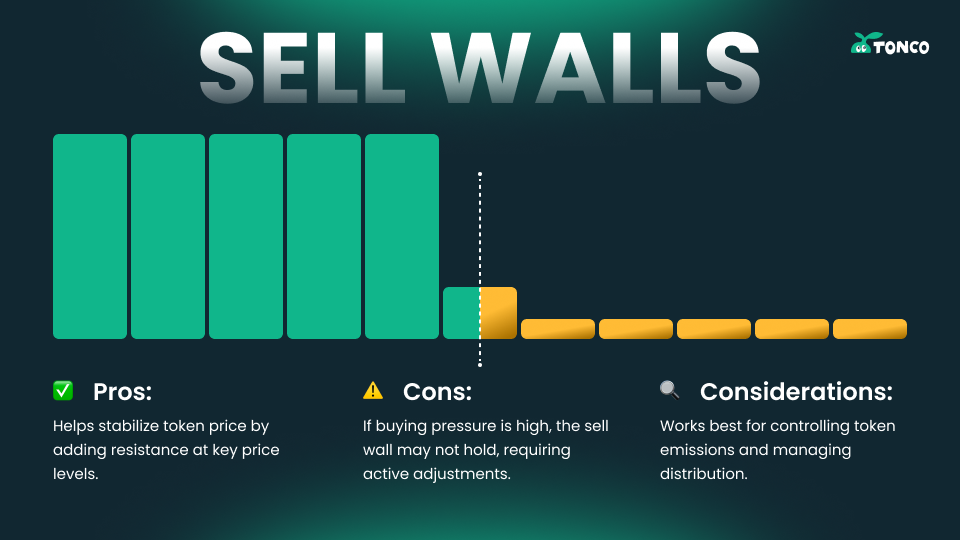
Used to stabilize price movements and create resistance/support levels.
— Helps projects control token price floors & ceilings.
— Can be used for automated buybacks during price dips.
💡 Buy Wall Setup:
• Position 1: [-10%, 0%] – 20% of liquidity
• Position 2: [0%, +5%] – 80% of liquidity
📌 Total Range: [-10%, +5%]
💡 Sell Wall Setup:
• Position 1: [-5%, 0%] – 80% of liquidity
• Position 2: [0%, +10%] – 20% of liquidity
📌 Total Range: [-5%, +10%]
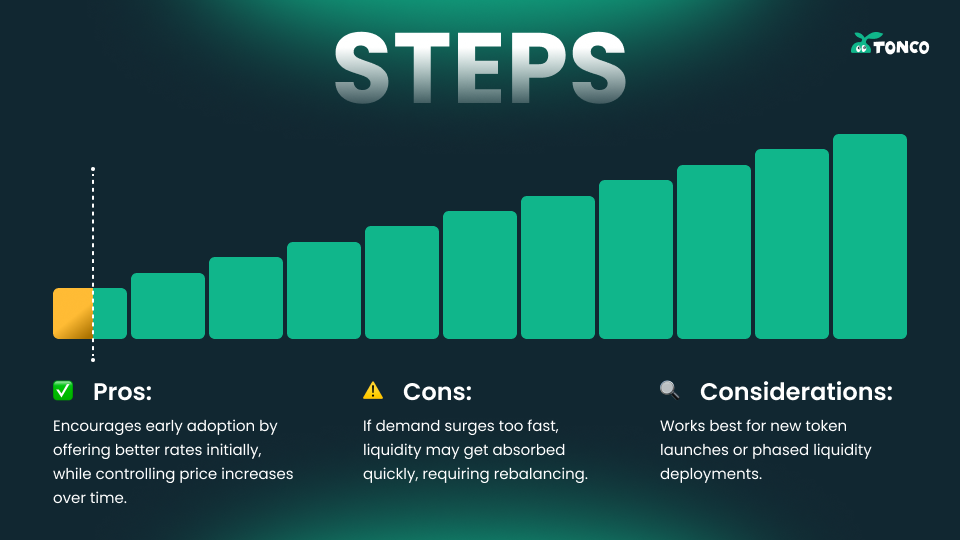
Gradually increases price levels to manage early-stage price growth while preventing sudden surges.
— Encourages early adopters by offering better prices initially.
— As demand grows, price moves in structured increments.
💡 Setup:
• Position 1: [-10%, +5%] – 5% of liquidity
• Position 2: [+5%, +15%] – 10% of liquidity
• Position 3: [+15%, +25%] – 25% of liquidity
• Position 4: [+25%, +35%] – 60% of liquidity
📌 Total Range: [-10%, +35%]
Providing liquidity involves risk. Key risks include:
⚠️ Impermanent Loss – If token prices shift significantly, LPs may lose value compared to simply holding the assets.
⚠️ Market Volatility – Sudden price swings can push positions out of range, stopping fee accrual.
⚠️ Smart Contract Risk – As with any DeFi protocol, security risks exist.
Advanced strategies can increase yield, but also require active management. DYOR before deploying liquidity.